How to Calculate Hardwood Flooring Needs
Buying hardwood flooring is one of the most expensive material purchases you make during a home renovation. Before you pick a stain color or decide between oak and maple, you need to know exactly how much wood to buy. Measuring incorrectly leads to two bad outcomes. If you order too little, you stop the job midway. When you order the second batch, the dye lot might look different, leaving a visible line across your living room. If you order too much, you waste hundreds of dollars on wood that sits in your garage for a decade. The math is not difficult, but you have to account for several variables that amateur renovators often miss, like waste margins and transition strips.
My Hands-On Experience with Hardwood Installations
In my 14 years as an interior architect, I have overseen over 50 residential flooring installations. Recently, I managed a June 2026 project in a Victorian home in London. The homeowner bought beautiful wide-plank French oak. Standard advice says to order a 10 percent waste margin. Because the house had irregular wall angles and two bay windows, I bumped the waste margin to 15 percent. We ended up using almost every single board of that extra 5 percent just dealing with awkward cuts around the cast iron radiators and the fireplace hearth.
Acclimation and Moisture Content
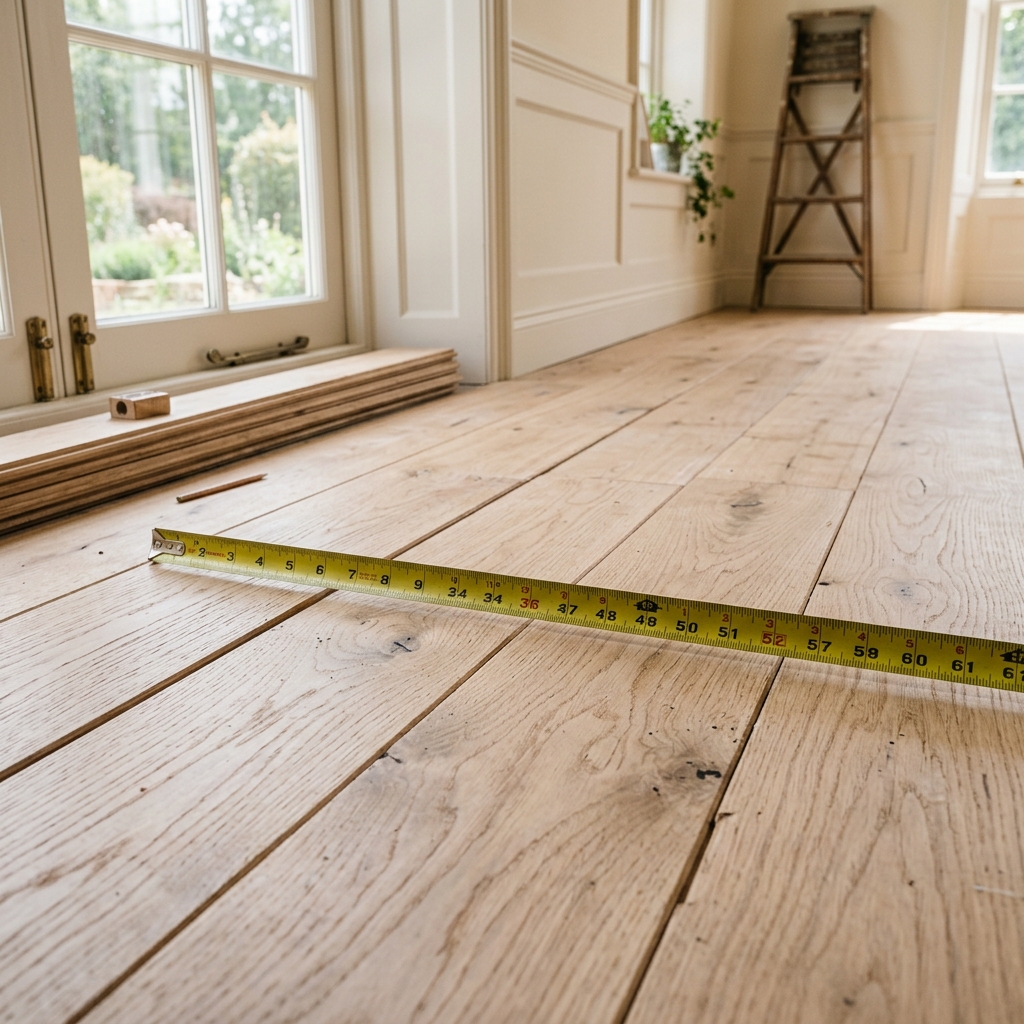
Before you take out a tape measure, you have to understand how wood behaves. Wood is porous and reacts to the humidity in your house. The National Wood Flooring Association (NWFA) recommends bringing the closed boxes of flooring into the room where they will be installed and letting them sit for at least 3 to 5 days. You need the HVAC system running at a normal temperature during this time. The wood expands or shrinks to match the room's climate. If you skip this step, you will install the wood while it is too dry. A month later, it will absorb moisture from the air, expand, and buckle off the subfloor. No amount of precise measuring matters if the boards push themselves off the ground.
Step 1: Calculate the Square Footage
Start by measuring the length and width of the room in feet. Use a laser measure if you have one, or a standard 25-foot tape measure. Multiply the length by the width to get your base square footage. For a perfect 10-by-12 foot room, that gives you 120 square feet.
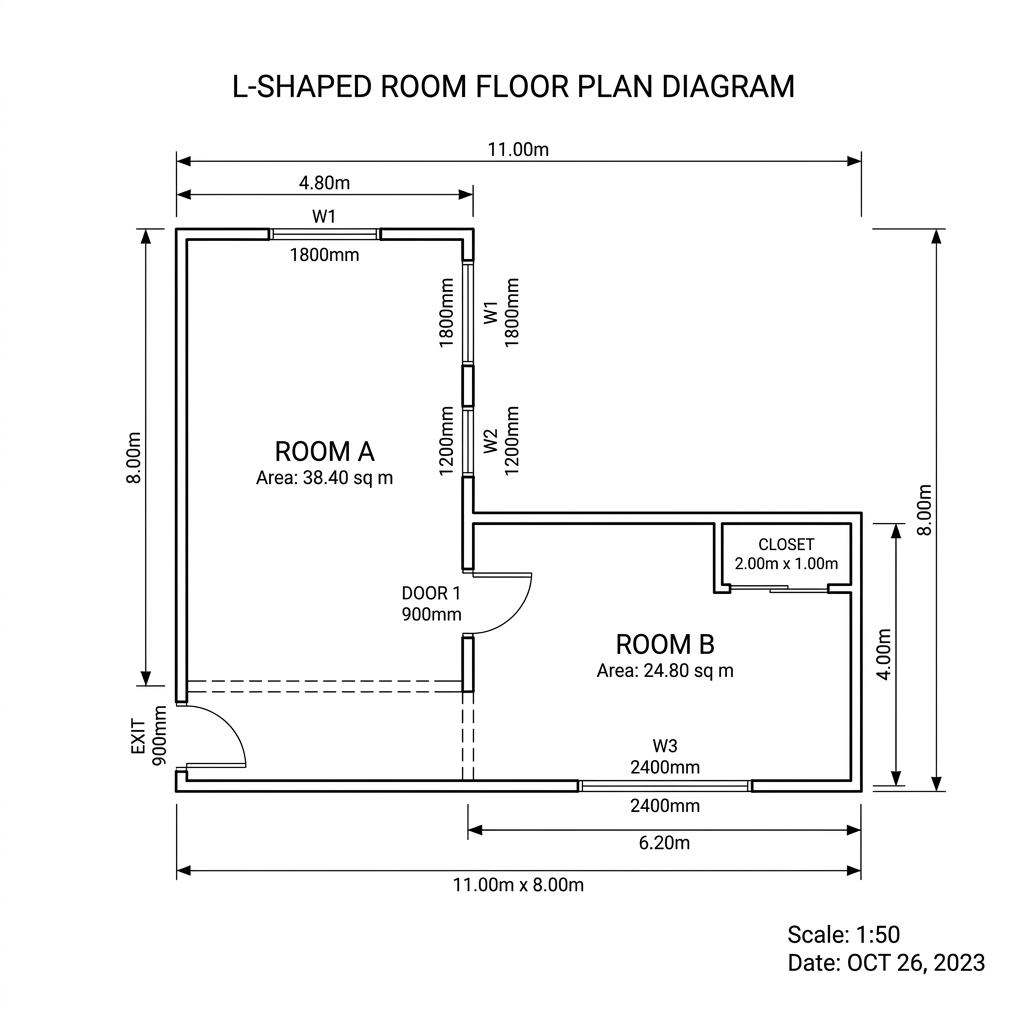
Most rooms are not perfect rectangles. They have alcoves and closets. When you have a complex room, break the floor plan down into smaller rectangles. Measure the main rectangular area first. Then measure the closet alcove separately. Multiply the length and width for each section, and add the totals together. Do not forget to measure into the doorways. The flooring needs to reach the middle of the door frame where it meets the next room.
Step 2: Add the Waste Margin
You cannot buy exactly 120 square feet of wood for a 120-square-foot room. Installers have to cut boards to fit the ends of rows. Once a board is cut, the leftover piece is often too short to use elsewhere, so it goes in the trash. You will also find defective boards in the boxes. Even premium brands ship boards with bad milling and large knots. You need extra material to replace them.
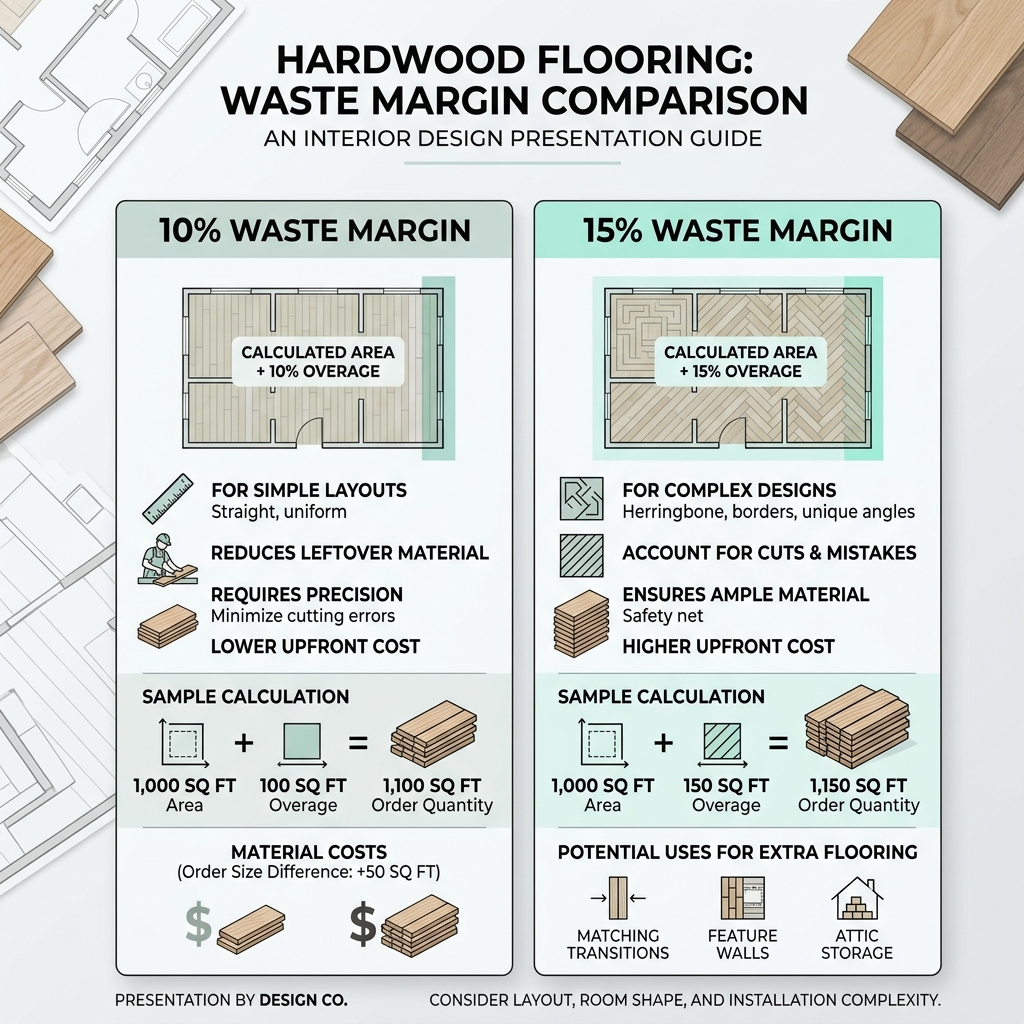
The industry standard waste margin is 10 percent. Multiply your total square footage by 1.10. If your room is 200 square feet, you need to order 220 square feet. You should increase the waste margin to 15 percent for diagonal layouts, because they require aggressive cuts at every wall intersection, generating massive waste. Do the same if the room has curved walls or a bay window. You also need a higher margin for cabin or tavern grade wood, because those lower grades come with more defects per box.
Step 3: Convert to Boxes
Hardwood flooring is sold by the carton, not by the square foot. Each manufacturer packs a different amount of wood in a box depending on the plank width and length. A box of 3-inch red oak might contain 20 square feet, while a box of 7-inch engineered French oak might hold 24.5 square feet. You have to check the product specifications.
Take your total square footage, including the waste margin, and divide it by the square footage per box. Let's say your final number with waste is 345 square feet. The flooring you want comes in boxes of 22 square feet. Divide 345 by 22. You get 15.68. You cannot buy a partial box, so you round up to 16 boxes. 16 boxes multiplied by 22 gives you 352 square feet of actual material ordered. This is the math you must run before swiping your credit card.
Pattern Repeats and Board Lengths
When you buy premium flooring, the boards come in random lengths varying from 2 feet to 7 feet. Cheaper flooring often comes in fixed lengths, typically all 3-foot or 4-foot boards. If you are working with fixed lengths, you have to stagger the joints manually so they do not line up across the room, creating an unnatural H-pattern. Staggering fixed lengths often increases the waste margin because you have to cut boards specifically to force a staggered layout. If you buy fixed lengths, factor in an extra 2 to 3 percent waste just to deal with the pattern repeat issue.
For wide-plank flooring, you have fewer boards overall. Every single cut board represents a larger percentage of your total material. A mistake cutting a 7-inch plank hurts your budget much faster than messing up a 2-inch strip. I always order an extra full box for wide plank jobs, regardless of what the percentage calculation dictates. It provides a safety net if a specific board is damaged during transit.
Step 4: Do Not Forget the Moldings
Square footage only covers the flat field of the floor. You also have to calculate your transition moldings. Every time the hardwood meets a different type of flooring, you need a transition strip. If the hardwood meets a tile floor of the same height, you need a T-molding. If it meets a lower floor like sheet vinyl, you need a reducer. If it meets a sliding glass door or a fireplace hearth, you need an end cap or square nose.
Measure all the doorways and transition points in linear feet. Most transition strips are sold in 72-inch or 78-inch lengths. A standard bedroom door is 30 to 32 inches wide. You can usually get two doorway transitions out of a single 72-inch strip. If you are doing stairs, measure the width of every single stair tread. You will need a stair nose molding for every step, plus the landing. Moldings are expensive, sometimes costing as much as a whole box of flooring, so count them carefully.
Step 5: Subfloor Preparation Materials
The hardwood sits on top of a subfloor, and you have to buy materials for that layer too. If you are nailing down solid hardwood over a wood subfloor, you need underlayment paper. Asphalt-saturated kraft paper or red rosin paper acts as a moisture vapor retarder and helps the planks slide during installation. Roll sizes vary, but you generally need enough rolls to cover your base square footage plus 5 percent for overlapping the seams.
If you are gluing engineered hardwood over a concrete slab, the calculations change. You have to measure the moisture emission of the slab first using a calcium chloride test. If the concrete is emitting too much moisture, you have to buy and roll on a liquid moisture barrier before you apply the adhesive. Then you have to buy the adhesive itself. Flooring adhesive is sold in buckets, usually measured in gallons. The trowel size dictates the spread rate. A 4-gallon bucket applied with a quarter-inch notch trowel might cover 140 square feet. You divide your base square footage by the spread rate to figure out how many buckets you need. Do not skimp on adhesive. If you spread it too thin to save money, the floor will pop loose.
Checking Your Color Palette First
If you are painting the room as part of the same renovation, paint the walls and ceiling before the flooring goes in. It is much easier to wipe a paint drip off a bare plywood subfloor than it is to clean it out of the grain of brand-new white oak. Plus, you avoid moving heavy ladders across a finished floor. Review our guide on The 60-30-10 Color Rule to make sure your wall colors will not clash with the undertones of the wood you are about to buy.
Final Review Before Ordering
I always recommend having a second person double check your math. Ask a friend or your contractor to take their own measurements and run the formulas independently. If your numbers match within a few square feet, you are safe to proceed. Write down your final numbers, call the supplier, and place the order. Getting the math right prevents a lot of headaches on installation day.
Need to calculate measurements for your space?
Use our free, interactive Flooring Calculator to calculate dimensions, box requirements, or guidelines automatically.
Calculate Your Flooring Needs Now→